This is a quick start guide to get up and running.
You will need the following items:-
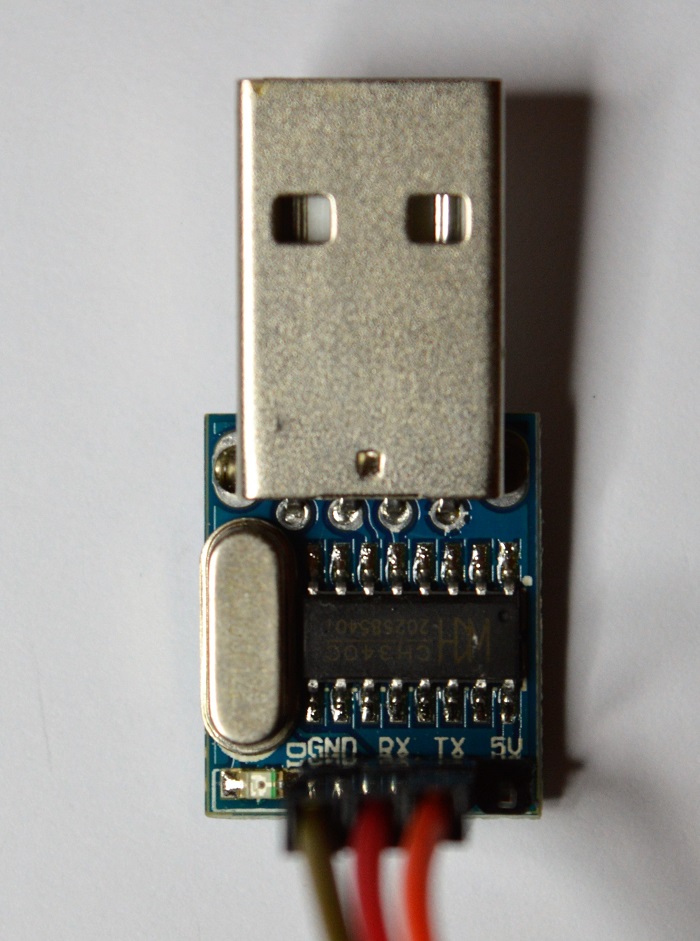
The USB serial port is what you will use to connect the Nime Computer to your host system. In this guide, we will be using a CH340 based serial port board which is the most widely available low cost board.
The default start-up state of the serial interface on the Nime Computer is 9600 bps 8 data bits, 1 stop bit, no parity.
The image below shows the board with three wires connected, for Ground (Brown) RX (Red) TX (Orange)
These wires are sufficient to send and receive character data to and from the Nime Computer.
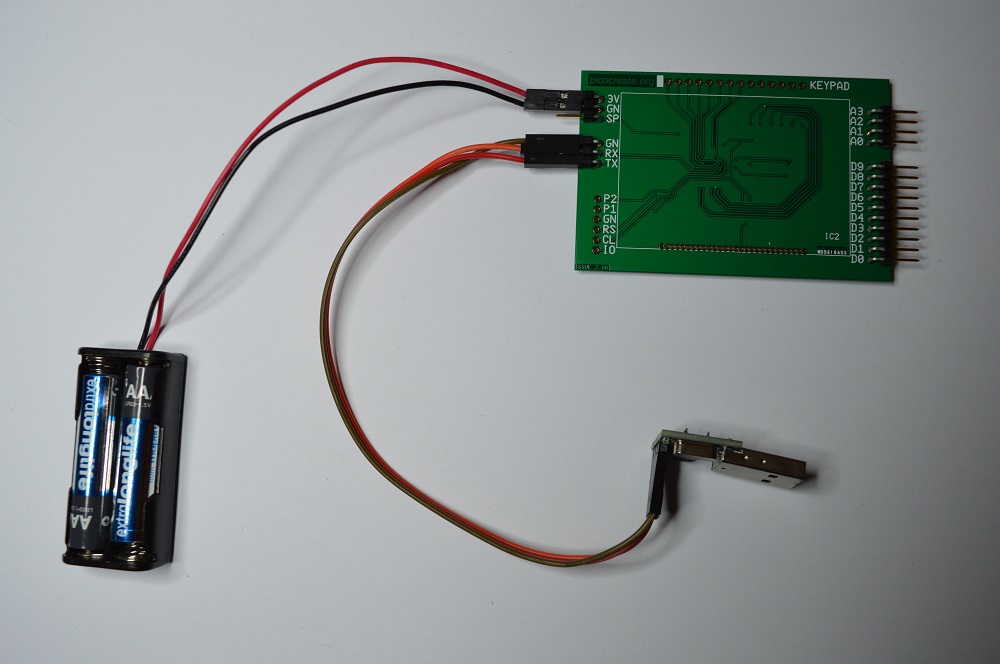
The Nime Computer board has header connectors on either side. The headers to the left are for providing power to the board, and the serial port for communication.
The power supply for the board is 3.3 volts, and should be connected to to GN (Ground) and 3V (Positive). The SP connector is for a speaker, should beeper sounds be required.
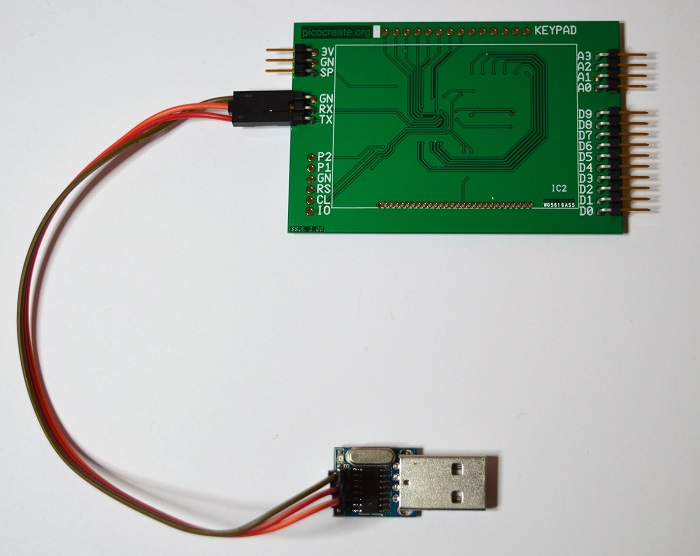
The serial port is the header with the symbols GN, RX and TX. These must be connected to the TTL Serial USB port in the previous section.
The headers on the right-hand side provide electrical connectivity to the outside world and provide and analogue port with 4 inputs and a digital port with 10 general purpose inputs and outputs.

The serial port must be connect to the Nime Computer so that the GND to connected to GN (brown wire), RX to connected to TX (red wire) and TX is connected to RX (orange wire)
Power for the Nime Computer comes from a separate 3v power supply. In this guide, a small battery back containing two AAA cells are used.